Injection Molding Process
- Aug 10, 2022
- 6 min read
Updated: Jan 19
The injection molding process is often used when a manufacturer needs to create technical components in large quantities. This isn’t to say it can’t be used for smaller production runs. Injection molding can also be economical for small runs of up to 1,000 parts due to the material savings it offers and newly emerged rapid tooling possibility.
This article details the benefits of the injection molding process, the general process and main types of injection molding, and some of the process’s limitations.

What Is the Advantage of the Injection Molding Process
There are several reasons a manufacturer may use the injection molding process ahead of other part manufacturing processes.
Injection molding large Item Quantities

With its extremely fast cycle
times, which can be as low as 10 seconds, injection molding is ideal for high-volume production runs of 100,000 or more products. This is particularly the case if the manufacturer uses multi-cavity molds, which enable the creation of multiple products per cycle.
Cost-Effectiveness
Though creating a mold requires a large upfront investment, this investment is repaid by the low cost per part injection molding offers. Even in smaller runs, manufacturers have the option of using aluminum or 3D printing to keep their mold costs down.
Precision
Injection molding involves injecting molten plastic under high pressure. This pressure forces the molten material against the mold for the creation of intricate shapes and detailed parts.
Repeatability
The injection molding process enables manufacturers to produce the same part over and over again. When followed correctly, the process ensures no variance between items.
Low Waste
Manufacturers have full control over the amount of material poured into a mold. This typically means very little waste because the manufacturer only uses the amount of material needed to fill their mold.
Large Material Choice

There’s a large range of plastics a manufacturer can use for injection molding, which again offers them control over their production process. Injection molding also allows for the use of recycled, bio-degradable, and bio-compatible materials, with the latter being especially important in the food and medical industries. For example, manufacturers can use injection molding to create implants for surgeries. Finally, 2K molding allows a manufacturer to use two materials in a single mold, allowing for the creation of multi-colored and multi-component parts.
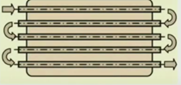
The Injection Molding Process
There are several types of injection molding process, which this article explores in more detail later. However, as a general process, injection molding typically includes the following steps.
Step No. 1 – An Idea
Before a manufacturer can create a mold, they first need to come up with a product idea. The versatility of injection molding means this idea can be extremely intricate.
Step No. 2 – Create a 3D Model
Conceptualizing a product before investing in a mold is crucial. Many manufacturers use computer-aided design software to create a 3D model of their idea. In addition to allowing them to view their idea, these 3D models also allow them to check for any issues that may arise when using a mold.
Step No. 3 – Mold Design
Assuming the 3D model is viable, mold design comes next. The mold is designed around the 3D model to ensure it can create perfect replicas of the product in question. A key issue here is the concept of design for manufacturing (DFM). This is the process of designing a product in a way that maximizes manufacturing efficiency based on the equipment that will be used. It involves the selection of the right tools, materials, and technologies, in addition to using modern design principles.
DFM ensures that the designed part can be created using the chosen tools. It’s also a time-consuming process as designers must often find a balance between the designed part and what’s feasible with the tooling.

Step No. 4 – Mold Machining
With the mold design solidified, it’s created using a relevant material. Such materials include steel, aluminum, and thermoplastics, among others. The material choice depends on the production run. High-volume runs tend to use sturdier materials, such as steel.
Step No. 5 – Injection Molding Machine
Once created, the mold is set up in a molding machine. The three main types are hydraulic, electric, and hybrid machines. Hydraulic machines offer exceptional clamp force and durability, though that comes at the cost of high energy consumption and imprecise molding. Electric machines are more accurate and energy efficient, but they cost more and require regular maintenance. Hybrid machines combine many of the best aspects of hydraulic and electric, though they also combine maintenance procedures and are more difficult to source parts for.

Step No. 6 – Injection and Cooling Methods
With the machine chosen, the manufacturer then selects injection and cooling methods.
Examples of injection methods include screw and piston. With screw injection, the raw material is poured into a chamber for plasticizing before moving to another chamber that’s used to inject the material into the mold. Piston injection involves using a plunger to push the plasticized material into the mold.
For cooling, the manufacturer may use water, which cools the machine and prevents bacterial growth. They may also use oil that involves the use of an oil cooler that keeps cold oil pumping around the machine. Variothermal cooling involves using cyclically changing temperature controls that are ideal for long, thin, and micro-components.


Step No. 7 – Plasticizing by Heat
Raw material granules are heated to the point where they’re liquefied. The mold is closed and made ready for injection.
Step No. 8 – Injection
The liquified plastic is injected into the mold based on the machine’s pre-determined settings.
Step No. 9 – Repress
As the molten material settles in the mold and begins to cool, it also starts to shrink. The repress step compensates for this by adding more molten material to fill any gaps left by shrinkage.
Step No. 10 – Cooling
The mold is cooled using water or oil coolant. Some manufacturers also experiment with variothermal technology. The coolant typically cycles through the machine and installed mold and cools the injected plastic to make it stable.
Step No. 11 – Demolding/ejection
The mold is opened and the plastic part is removed. The manufacturer may also have to manually remove the sprue used in the mold, depending on the type of sprue and gate they’ve used.
The Three Main Injection Molding Processes:
There are many types of injection molding processes, with each having benefits and drawbacks. The three most common are:
1. Thermoplastic Injection Molding
Thermoplastic is inserted into the machine as granules and melted down for injection. This melted material accumulates in front of the injection tool ready for insertion. Monitoring is crucial to this injection molding process as several changes can occur during its application.
2. Thermoset Injection Molding
Thermosets are often used for parts with thick walls of up to 50mm, such as vehicle headlights. However, recent advances allow this injection molding process to create parts as thin as 1mm. Thermoset molding cures via exposure to heat.
3. Elastomer Injection Molding
This is another heat-based process, meaning the molding tool must maintain a higher temperature than the raw material poured into it. Vulcanization times are higher with this form of injection molding. This form of injection molding offers a good alternative to rubber and silicon processing.
The Limitations of the Injection Molding Process
The injection molding process has several drawbacks to consider before a manufacturer uses it. Though injection molding saves money in terms of material costs and production efficiency, initial set-up costs are high. Injection molding is also not suitable for very large parts, often due to the clamping mechanisms being unable to hold large molds together effectively enough. There’s also a possibility of visual defects, such as weld lines, ejector marks, and defects caused by gates, in some types of injection molding.
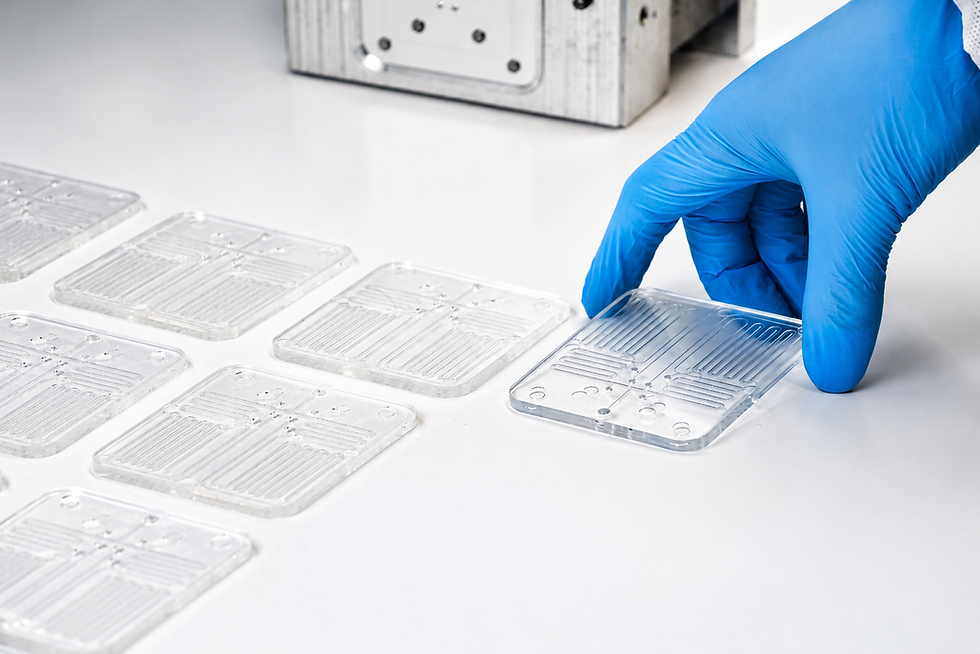
What Is Made Using the Injection Molding Process?
The injection molding process is used to create a wide variety of products. These include general household products, such as toothbrushes, disposable cutlery, drinking straws, and laundry baskets. Injection molding’s precision also enables the creation of medical components, such as disposable syringes, heart valves, tubes, and even artificial joints. The process can also be used to make electrical switches, toys, car and computer parts, and food packaging.
The Injection Molding Process – Versatile Product Creation
This article has examined the general injection molding process. However, the exact process varies depending on several factors, including the type of injection molding chosen and the manufacturer’s requirements. It’s this versatility, combined with lowered product creation costs and the process’s repeatability, that has made injection molding one of the world’s foremost product manufacturing techniques.


Comments