Injection Molding Cycle Time
- Jul 19, 2022
- 6 min read
Updated: Jan 19
Understanding the injection molding cycle time of a part in production is crucial for several reasons. It allows manufacturers to determine their production rate, which influences the quantity of the parts produced and thus efficiency of the machine. Understanding a part’s cycle time and its stages may also help manufacturers to determine changes they can make that may reduce the time taken to produce a part.
This article breaks down the stages of the injection molding cycle time, explains how to calculate total cycle time, and offers some tips that may help to reduce the injection molding cycle time.

What Is a Cycle Time in Injection Molding?
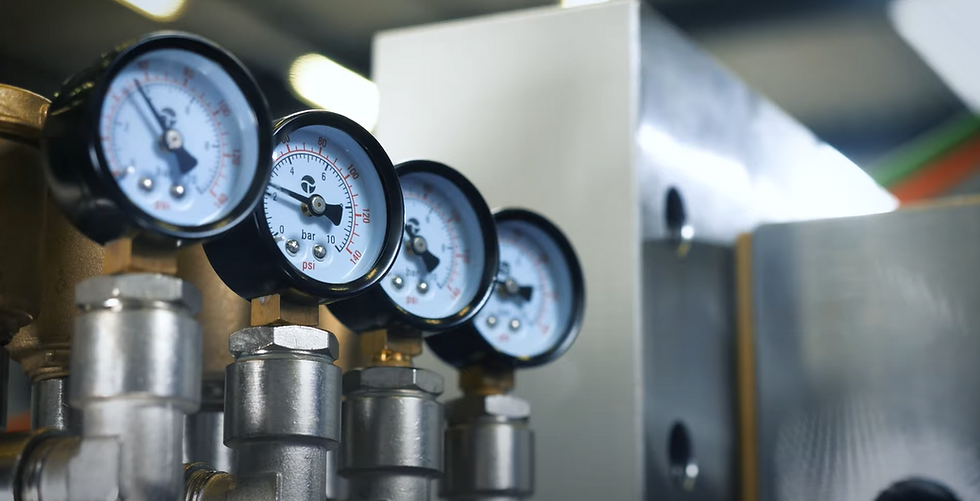
The cycle time for injection molding is the total amount of time taken to complete the key stages of the injection molding process. The average length of this process varies depending on how long it takes to go through each stage of the cycle. For example, a manufacturer’s total injection molding cycle time may go beyond two minutes if it has a large part or some manual work is needed (e. g. placing the inserts when overmolding is used). Suchana A. Jahan, et al, examined average cycle times in their paper “Thermo-mechanical design optimization of conformal cooling channels using design of experiments approach.” They found that injection times tend to be approximately two seconds, with average cooling times varying between 12.76 and 17.2 seconds.
The Stages of the Injection Molding Cycle Time
The injection molding cycle time is divided into four stages, each of which is fairly short.
Stage No. 1 – Clamping
Molds typically come in two halves, which need to be closed material is injected into them. This is accomplished using a clamping unit. The closed mold is then attached to an injection molding machine, with the clamping unit keeping the two halves of the mold connected throughout the molding process.
Stage No. 2 – Injection
Also referred to as fill time, injection is the process of filling the mold with plastic material. This usually involves using a hopper to feed plastic pellets into the mold. During injection, the barrel of the injector unit is heated and under pressure, which melts the pellets into a more pliable liquid plastic.
The volume of material injected into a mold is called a shot. In most cases, the injection time ends when the mold is between 95% and 99% full. The exact amount depends on the nature of the mold.
Stage No. 3 – Cooling
Once the material makes contact with the mold interiors, it begins cooling. The plastic hardens during this process. Cooling can lead to shrinkage. Hence, it’s vital to inject the mold with the correct volume of material. The mold can’t be opened until the cooling process completes.
Several factors affect how long this cooling stage takes. The packing time determines how long it takes to fill the mold with material. As the mold is filled, the pressure inside increases to the point where the flow of material slows down. As the material cools, the pressure decreases, and space becomes available to pack more material if needed.
These pressure changes can also lead to discharge, which needs to be accounted for. As the cooling process continues, sealing occurs at the gate of the cavity. This prevents excessive material coming in. Upon reaching the sealing point, the remaining pressure inside the mold continues decreasing as sealed cooling occurs.
Stage No. 4 – Ejection
The mold is unclamped and opened using an ejection system, which also pushes the completed product out of the mold safely with the help of ejectors. Since the plastic has shrunk and stuck to the mold, the system applies enough force between the product and the mold to detach (demold) it. After that, the produced part can be processed further - to remove sprues or paint. After ejecting, the mold is clamped again and the process repeats for the next product.
How to Calculate Injection Molding Cycle Time?
Manufacturers can calculate the injection molding cycle time using the following formula:
Molding Time (sec) = t1 + t2 + t3 + t4
The “t” numbers are as follows:
T1 = Injection time + dwelling time
T2 = Cooling time
T3 = Time required to remove the molded product
T4 = Time needed for opening and closing the mold
Cooling time is the main factor affecting the injection molding cycle time. This can vary depending on the cooling capacity of the mold’s cavity. Cooling time is also affected by the type of material used and the product's wall thickness. Determining cooling time is crucial to ensure products are manufactured safely and to the appropriate quality. Configurable mechanical components supplier MiSUMi references “Molds for Injection Molding" by Keizo Mitani when providing this experimental formula that can estimate cooling time:
T = s2 ∙ ln[8 ∙ (θr - θm) / (θe - θm) /π2] / (π2∙α)
The following are what each of the parts of this formula refer to:
T – Cooling time related to average temperature of the wall thickness measured in seconds
s – Wall thickness of the molded product measured in millimeters
α – The heat diffusion rate of the plastic at the surface temperature of the cavity (in mm2/s)
Use λ/(c∙ρ) to work out the value for α.
λ – Coefficient of the plastic’s thermal conductivity
c – Specific heat of the plastic
ρ – The plastic’s density
θr – The molten plastic’s temperature in degrees Celsius
θe – The temperature needed for removing the molded product in degrees Celsius
θm – The surface temperature of the cavity in degrees Celsius
Keep in mind that measuring cooling time is typically done using software with varying formulas until a working solution is reached.
How to Reduce the Cycle Time in Production?
Reducing the injection molding cycle time allows manufacturers to make more parts in a shorter period. This creates a more efficient production process. The following tips help to reduce the cycle time.
Tip No. 1 – Reduce Opening, Closing, and Ejection Times
These factors are determined by the machinery used to control the mold. Investing in more efficient clamping and ejection mechanisms results in faster speeds.
Tip No. 2 – Optimize the Cooling Process
Creating a more robust cooling channel design may allow manufacturers to reduce the time spent on the cooling process. Muhammed Khan, et al, considered this in their research paper “Cycle Time Reduction in Injection Molding Process by Selection of Robust Cooling Channel Design.”

It was found that combining additive and conformal cooling lines provides a faster and more uniform process compared to conventional cooling lines. In particular, additive cooling lines are 11.29% faster than conventional lines. They also result in 8.477% shrinkage when compared to conventional cooling’s 11.39%.
Tip No. 3 – Reducing Holding Times
Beyond making the cooling process more efficient, manufacturers may simply be able to reduce the amount of time the part spends in holding. The key here is to balance any time reduction with quality. If shaving seconds off the holding time leads to a reduction of part quality, avoid doing it.
Tip No. 4 – Alter the Part Design
The wall thickness of a part directly affects how long it takes to cool. If a manufacturer can reduce wall thickness, cooling times can decrease. Again, one eye must stay on the part’s quality if when reducing wall thickness. The temperature controller used must also be able to extract heat energy from the cooling fluid quickly enough to make this idea viable.
Tip No. 5 – Change the Runner System

Cold runners, which are typically used in two and three-plate molds, are slower than hot and insulated runners. The latter two runners aren’t affected by cooling times either, whereas large cold runners sometimes require more cooling time than the part itself. By switching to hot or insulated runners, manufacturers can lower their injection molding cycle time.
Understand the Process
Several factors affect the total injection molding cycle time, with cooling being the most important. By using the above tips, manufacturers may be able to reduce the time taken to produce parts. The resulting seconds saved per part can allow them to produce many more parts per day, assuming they can implement the above measures without affecting quality.


Comments